Sprouting beans can make them more flavorful, nutritious and easier to digest.
It’s rare that I spend time reading my own cookbook, except when I want to cook a recipe that I have not cooked in a while. Some of my recipes like Herbed Polenta, Creamy Dreamy Zucchini Chowder and Shane’s Fabulous Lentil Soup are committed to memory. Others less so.
Recently, I was searching for the “perfect” recipe in the beans chapter to teach at a cooking demonstration when I saw that I have a sidebar called “How to Sprout Beans.”
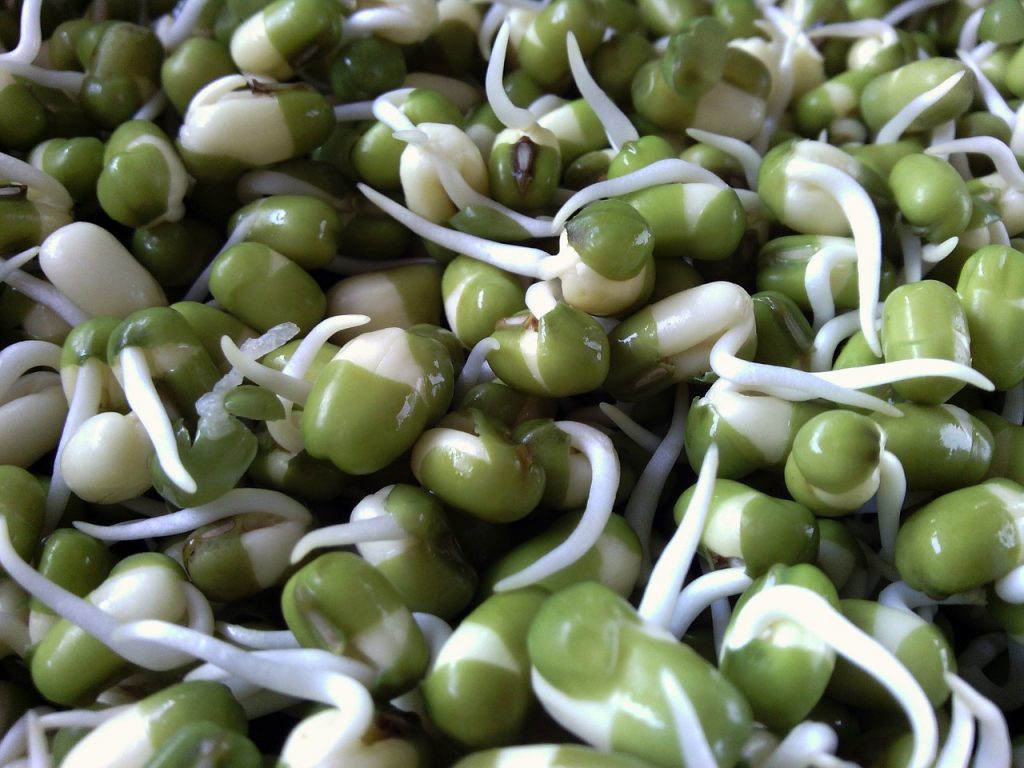
Why sprout beans?
Some of you might wonder why you would want to sprout beans. It’s an interesting subject. Read on to find out more.
Well, here is that sidebar in its entirety (from Vegan Under Pressure, reprinted with permission from Houghton, Mifflin, Harcourt):
Sprouting beans changes them from a dry, hard food to a fresh, living, and growing food. Each bean has the potential to become an entire bean plant, so each has to provide a lot of nutrition for the plant it will eventually grow into. It’s a simple process that involves only beans, water, and time.
Note: Kidney, cannellini, and flageolet beans contain a toxin that might cause food poisoning, so do not sprout them unless you intend to cook them thoroughly (pressure cooking for at least 5 minutes after sprouting or a long soak, as recommended in Bean Cooking At-a-Glance, page 95).
Vegan Under Pressure
How to Sprout Beans Using the Jar Method
The easiest method for soaking beans is the jar method.
- Put 1 to 2 cups beans in a large jar with room for them to expand two to three times their size. (So 2 cups of dry beans requires a jar larger than 1 quart.)
- Cover the beans with at least double the volume of fresh, clean (not chlorinated) water.
- Cover the jar with a sprout lid or cheesecloth or a thick paper towel, and secure with a rubber band and soak overnight on the countertop. The ideal temperature is no higher than 70°F. If it is too warm, your beans might get moldy before they sprout. (If your kitchen is above 80°F, soak in the refrigerator for a longer period of time.)
- After soaking overnight, dump out the water. Rinse the beans several times by adding fresh water and dumping it out.
- Invert the jar, covered with cheesecloth, a paper towel, or a sprouting lid, into a bowl so that any water can drain and place the whole thing in a dark cabinet or cupboard. (You can also sprout in a colander set in a bowl if that is easier.)
- Keep the beans covered with a paper towel or cheesecloth. Repeat the rinsing process twice each day, dumping out any water that accumulates in the bowl.
- By day 2 after the initial soak, you will see little tails on your beans, which means it’s time to cook.
NOTES: You can also eat the beans raw at this point if you like. Do not eat raw kidney, cannellini, or flageolet beans. (See above.)
You can sprout up to 3 days if you prefer a longer tail and an even fresher taste, rinsing twice each day so that your beans do not spoil or sour.
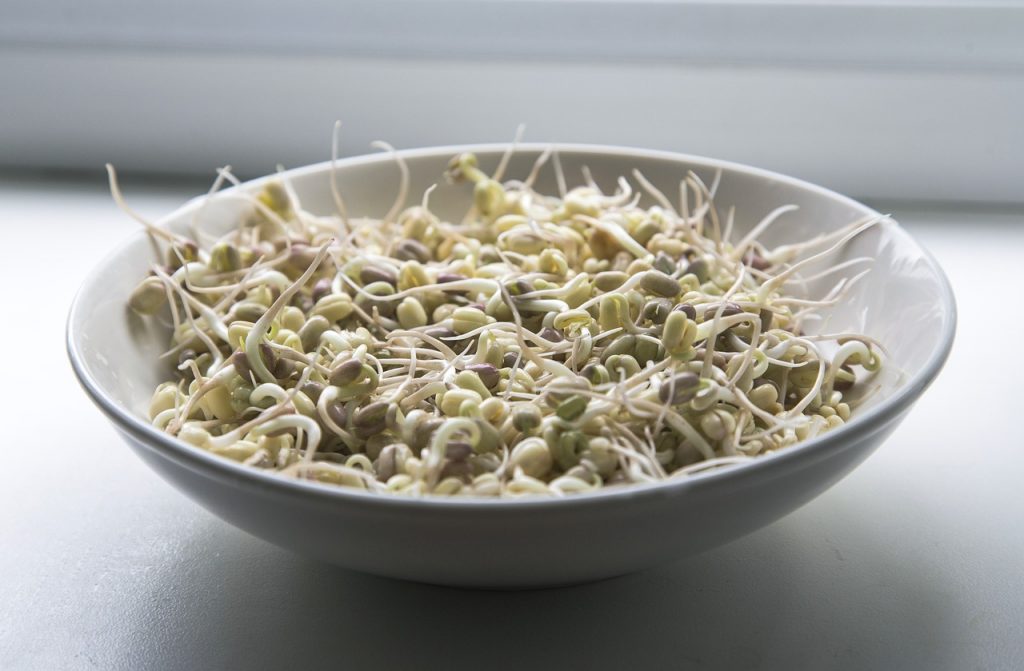
How to Cook Sprouted Beans
Sprouted beans require less water during cooking and will also likely cook faster than traditional soaked beans.
You will have to experiment with your sprouted beans to discover the most appropriate cooking times. I would start by shaving off 25 percent of the time I give in the At-a-Glance. So for 8-minute beans, cook sprouted beans for 6 minutes. Remember that you can always bring them back to pressure, but overcooked beans will have to become dip, soup, burgers or loaves. If you don’t cook all your sprouted beans at once, store them in the refrigerator for up to 3 days. I do not freeze sprouted beans since I can eat them as fresh beans.
For those of you who get digestive upset with beans, sprouting them could prove to be your “magic bullet” for easier eating. Just follow the info above.
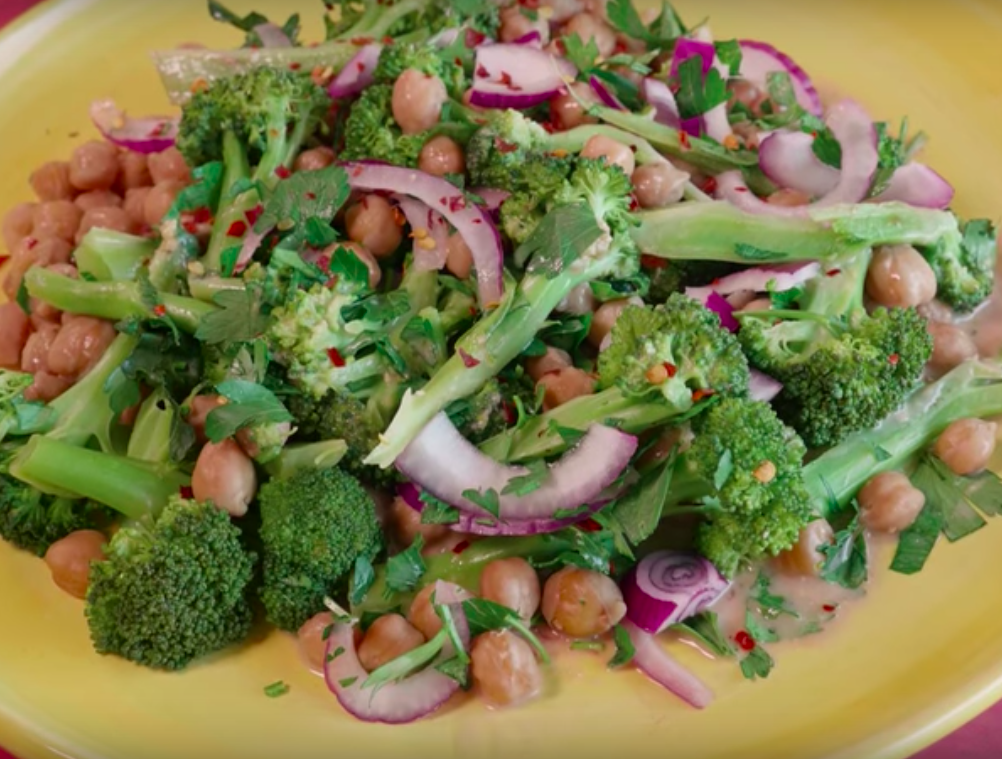
After reviewing all of my own information on sprouting beans I finally decided what to cook for my cooking demonstration: Chickpea Broccoli Salad
This salad recipe doesn’t call for sprouted beans but it is still quite delicious. I bet, though, that it would be amazing with sprouted chickpeas, either raw or cooked. Leave a comment and let me know if you try it!

Leave a Reply